Wednesday, November 26, 2014

Variation on a Theme - Thanksgiving Style

Once again I decided to make three cards using the same theme but a different medium for each.For Thanksgiving I liked the idea of wheat shafts - something to do with bread and food and being thankful I guess or just maybe my catholic upbringing. I wanted to keep each card simple and clean. 

Card #1:
This card was made using an Inkadinkado image stamped in brown ink from Staz-on on a burlap patterned paper from K&Company/EK Success. The card was edged with the same brown ink. I added a simple tag (also edged with brown ink) for the computer generated text. To finish the card of I added some black brads from Making Memories in the corners.


Card #2:
This card was made using a 3D sticker from Jolees' Boutique/EK Success mounted on two strips of solid color paper (the colors were chosen to reflect the sticker colors) embossed with a Swiss dot pattern from Darice. The tag is made using the Tim Holtz/Sizzix tattered banner dies and again holds a computer generated text.


Card #3:
The final card was made using the Spellbinders Cattail die (to me they look like shafts of wheat) that was mounted over a circle punch on a panel die cut with the Sizzix parchment die (retired but one of my favorites). The cattail die cut was colored using brown ink. The background paper is a lightly mottled paper from K&Company/EK Success and also edged with brown ink. Again the text is computer generated.


These are simple cards and even though the die cut is supposed to represent cattails, when you use your imagination you can do anything!

Sunday, October 26, 2014

Simple Halloween Cards

Sometimes, especially when we are busy, we need to go back to easy ... and what better time than Halloween. Here are some "easy" card ideas that are simple to make and can be adapted to almost any media .. I happened to use stickers for two of them and stamps for the third ... but can also be added to by creating some of the pre-made items used yourselves.

The first card was made using pre-embossed black Swiss dot paper for the card but you can use an embossing folder to create the same look. The strip of text-ed paper is just that, a strip of pre-made text-ed paper from Die Cut with a View, but again you can create your own using a rubber stamp. The strip was edged and lightly colored with black ink. The glittered rat sticker is from Martha Stewart/EK Success. The text are individual black glittered letters from Sticko/EK Success.


The second card use a strip of black paper in which I punched three holes and then added a small glittered sticker in each one (all from one $1.99 pack of Sandylion stickers). Can't get any easier than that!


The third card uses a single tree scene stamp (Picture Show) that was colored using watercolors - just make sure you use permanent black ink for the stamping to prevent bleeding of the paint and ink. The text is a rub-on from the dollar bin at Target. Everything was edged with black ink and the black frame around the image was done using a Sharpie marker.


Monday, September 1, 2014

Variations on a theme.

Last Christmas I decided to use a deer and tree theme for my personal cards. I made the cards using an  electronic die cut machine system that uses cartridges to create the various deer images from glittered papers. After posting some of the cards, I was very surprised and somewhat disappointed at the number of comments I received about the fact that I used an expensive machine that many crafters don't have or can't afford in this economy. The truth is that it’s not the media that’s important but the idea! The original deer and tree theme can easily be duplicated in a variety of ways without having an expensive die cut machine … it’s all about imagination! To prove my point here are some examples of holiday deer themed cards. All the cards start with a basic size 2A (4¼” x 5½”) white card.

Sticker Version
Although the original card was made using silver glittered paper, the sticker version uses two colored Sticko/E.K. Success stickers; which I overlaid on a light blue metallic strip of paper from The Paper Company. The text is from an A.C. Moore sticker sheet. The use of color makes this card, I believe, a little more masculine.


Rubber Stamp Version #1
For the first rubber stamped card I used a couple of Inkadinkado/E.K. Success winter scenery stamps side by side. To create the silver glittered effect of the original card I embossed the stamped images with silver embossing powder from Ranger. For the background I again used a piece of light blue metallic strip of paper from The Paper Company. The text is computer generated.


Rubber Stamp Version #2
So far the deer images have been small … so for the second rubber stamped card I used a Stampin Up! Single deer stamp. To create a ground line under the stamped deer I used an embossing pen. Again I embossed the stamped image with silver embossing powder from Ranger. For the background I used a piece of dark blue metallic paper from The Paper Company; which was the mounted a slightly larger piece of silver paper, also from The Paper Company. The text is from an A.C. Moore sticker sheet.


Die cut Version Version #1

These days many companies make dies and these are certainly a lot less expensive than electronic die-cutting systems. The deer family was die-cut using a Memory Box die from mirrored silver paper from The Paper Company, to continue the glittered effect. I mounted the die-cut image using raised adhesive dots and then framed it with silver sliver Design Line stickers from Mrs. Grossman’s. The star is a Hallmark sticker.


Die cut Version Version #2
The original idea was to show how motifs could be recreated … so I decided for the final card to recreate the sticker deer card using die-cut images. The deer family and background pine trees were die-cut from white paper using Memory Box dies. I colored the die-cut images Upper portions only) using Color Box Cat’s Eyes ink pads. The die-cut images were overlaid on a blue background. The text is computer generated.


So, next time you look at a card, don’t think about what you don’t have … think about what you do have!

Sunday, July 6, 2014

Mrs. Grosman's Card

I recently entered a contest to celebrate the 35th anniversary of the Mrs. Grossman's Company and came in 2nd. The theme of the contest was "sticker art" and of course art is what ever you want to make it. For my art, I chose to make a card using ten different layers of stickers from Mrs. Grossman's  from the past 35 years.  


 If you want to see the other winners go to the Mrs. Grossman's website ... it's well worth it!

Stamped backgrounds

I've been trying to stay away from buying pre-printed background paper and trying to create my own backgrounds to highlight stickers. Using stamps to do this is allows you to use complimentary colors and is actually very easy. Here are two quick examples:

The first card took some practice. I started by making a mask using a Spellbinder die from a thin sheet of white paper. With the mask in place on a pre-cut panel of white paper, I colored the inside opening with gold ink (Tsukineko).  Without removing the mask I stamped the text (Stampin Up!) in dark brown ink (Color Box/Clear Snap) over the gold background. I mounted the stamped panel on a piece of antique gold paper (The Paper Company) and mounted the two panels on a white card. The final item is the addition of my last 3D butterfly sticker (Mark Richard); which I've held onto for over ten years.


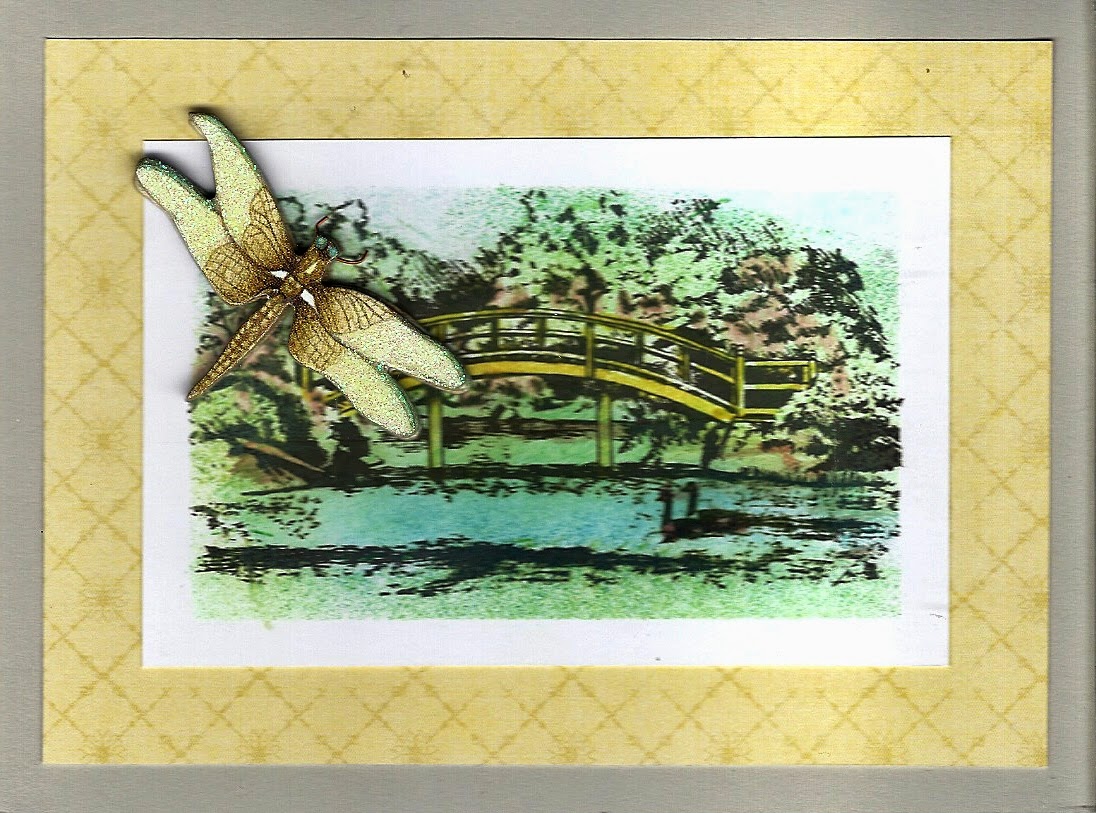
The second card was actually simpler to make. I wanted to create a "water" themed background for a 3D dragon fly glittered cardboard sticker (K&Company/EK Success) that I had left over. I started with a panel of white paper cut to the size I wanted and which I then edged with masking tape. Inside the taped area I stamped the park scene (Inkadinkado/EK Success) image in black archival ink (Ranger) and then using cotton swaps and various ink pads I colored the stamped image, making sure I extended the color over the tape. Once I removed the tape I had a perfect background. I mounted the stamped panel on a piece of patterned paper; which was actually part of the packaging for one of the many K&Company/EK Success sticker packages I've collected. Mounted the two on a light grey card and then added the dragon fly.